Virtual File System Sample for macOS in .NET, C#
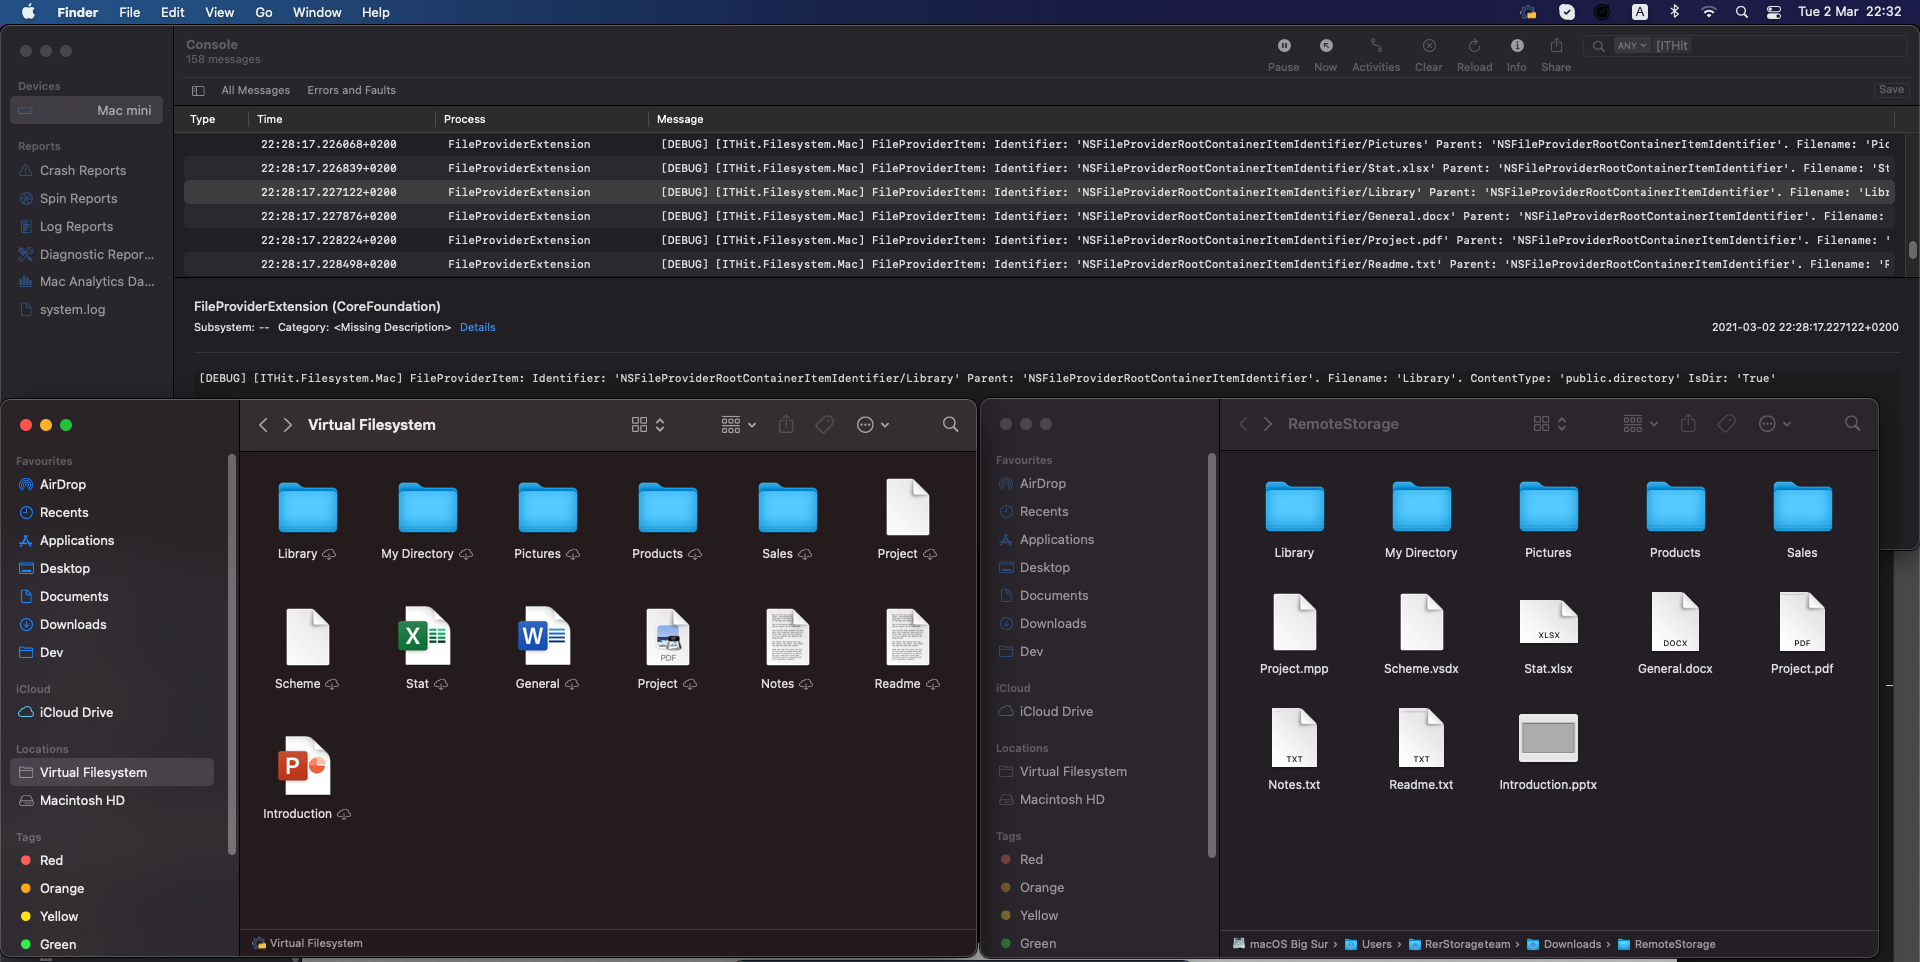
This sample implements a virtual file system for macOS with synchronization support, folders on-demand listing, thumbnails and context menu support. It synchronizes files and folders both from remote storage to the user file system and from the user file system to remote storage. This sample is written in Xamarin, .NET/C#. To simulate the remote storage, this sample is using a folder in the local file system on the same machine.
The purpose of this sample is to demonstrate the major features of the IT Hit User File System for .NET on macOS and provide patterns for its programming. You will use this sample as a starting point for creating a OneDrive-like file system for macOS for your DMS/CRM/ERP and will reprogram it to publish data from your real storage instead of the local file system.
You can download this sample and a trial license in the product download area. You can also clone it and browse the code on GitHub.
Requirements
- .NET 7
- Xcode 14.3+
- Visual Studio Community 2022 for Mac, Stable Channel.
Solution Structure
The macOS sample solution consists of 3 projects: container application, an extension project, and a common code.
The container application provides a Menu Bar icon to install/uninstall the file system extension. Inside the container application, you should change the hardcoded directory to replicate in your Virtual Disk manually. Consider that the extension can only access sandbox folders (including Downloads, Pictures, Music, Movies). It means that it won't be able to show the contents of the folder outside of the sandbox.
The extension project runs in the background and implements a virtual file system on macOS (File Provider). It processes requests from macOS applications sent via macOS file system API and lists folders content. The macOS extension can be installed only as part of a container application, you can not install the extension application by itself.
Setting the License
Download the license file here. With the trial license, the product is fully functional and does not have any limitations. As soon as the trial license expires the product will stop working. Open the VirtualFilesystemMacApp/Resources/appsettings.json file and set the UserFileSystemLicense field. Set the license content directly as a value (NOT as a path to the license file). Do not forget to escape quotes: \":
-
"UserFileSystemLicense": "<?xml version=\"1.0\" encoding=\"utf-8\"?><License…
You can also run the sample without explicitly specifying a license for 5 days. In this case, the Engine will automatically request the trial licenses from the IT Hit website https://www.userfilesystem.com. Make sure it is accessible via firewalls if any. After 5 days the Engine will stop working. To extend the trial period you will need to download trial licenses and specify them in appsettings.json
Setting the Remote Storage Path
Here you will set path to the folder that simulates your remote storage. Your virtual drive will mirror files and folders from this folder. Note that the extension runs as a sandboxed application and has access to a limited number of locations in the local file system. To simulate the remote storage structure you can copy the \RemoteStorage\ folder provided with the project under the ~/Pictures/ folder. To set the remote storage directory open the VirtualFilesystemMacApp/Resources/appsettings.json file and set RemoteStorageRootPath string. Make sure to replace the ${USER} with a real user name:
"RemoteStorageRootPath": "/Users/User1/Pictures/RemoteStorage"
Now you are ready to compile and run the project.
Running the Sample
Note that this sample does NOT require Group ID, App Identifies and Provisioning Profiles configuration for development. It is only required for production deployment.
To run the sample open the project in Visual Studio and run the project. The application adds an application to the macOS Status Bar. To mount the file system select the 'Install Extension' command in the Status Bar.

Note, that every File Provider Extension runs in a sandbox, so access to the local filesystem restricted by OS except Downloads, Pictures, Music, Movies public directories.